



3D printing stopped being an engineers-only curiosity long ago: a home printer makes shelf brackets, appliance spare parts, organisers, figurines and learning models for kids. A first printer usually disappoints not because the model is bad but because of wrong expectations: too small a bed, a hum filling the whole flat, plastic that did not survive summer in the car. Below: what to check before paying, which filament to start with and what to buy straight away, so your first week is not spent fighting the printer.
Why homes go for FDM rather than a resin printer
In an FDM printer (Fused Deposition Modeling) a 1.75 mm plastic filament melts in the nozzle at 190-260 °C and is laid down on the bed layer by layer. Consumables are cheap, a spool keeps for months on a shelf, and a finished part comes off the bed ready to use.
Resin SLA/DLP printers give finer detail, but they work with liquid photopolymer resin: it needs gloves, an alcohol wash, UV curing and a separate ventilated room. For 2-3 cm miniatures that pays off; for household parts and a family hobby, FDM is simpler and safer.
How much build volume you actually need
Build volume sets the largest part you can print in one piece. A 180×180×180 mm cube covers most household jobs: holders, boxes, figurines, brackets. Bigger objects can be split in the slicer and glued, but the seam stays the weak spot.
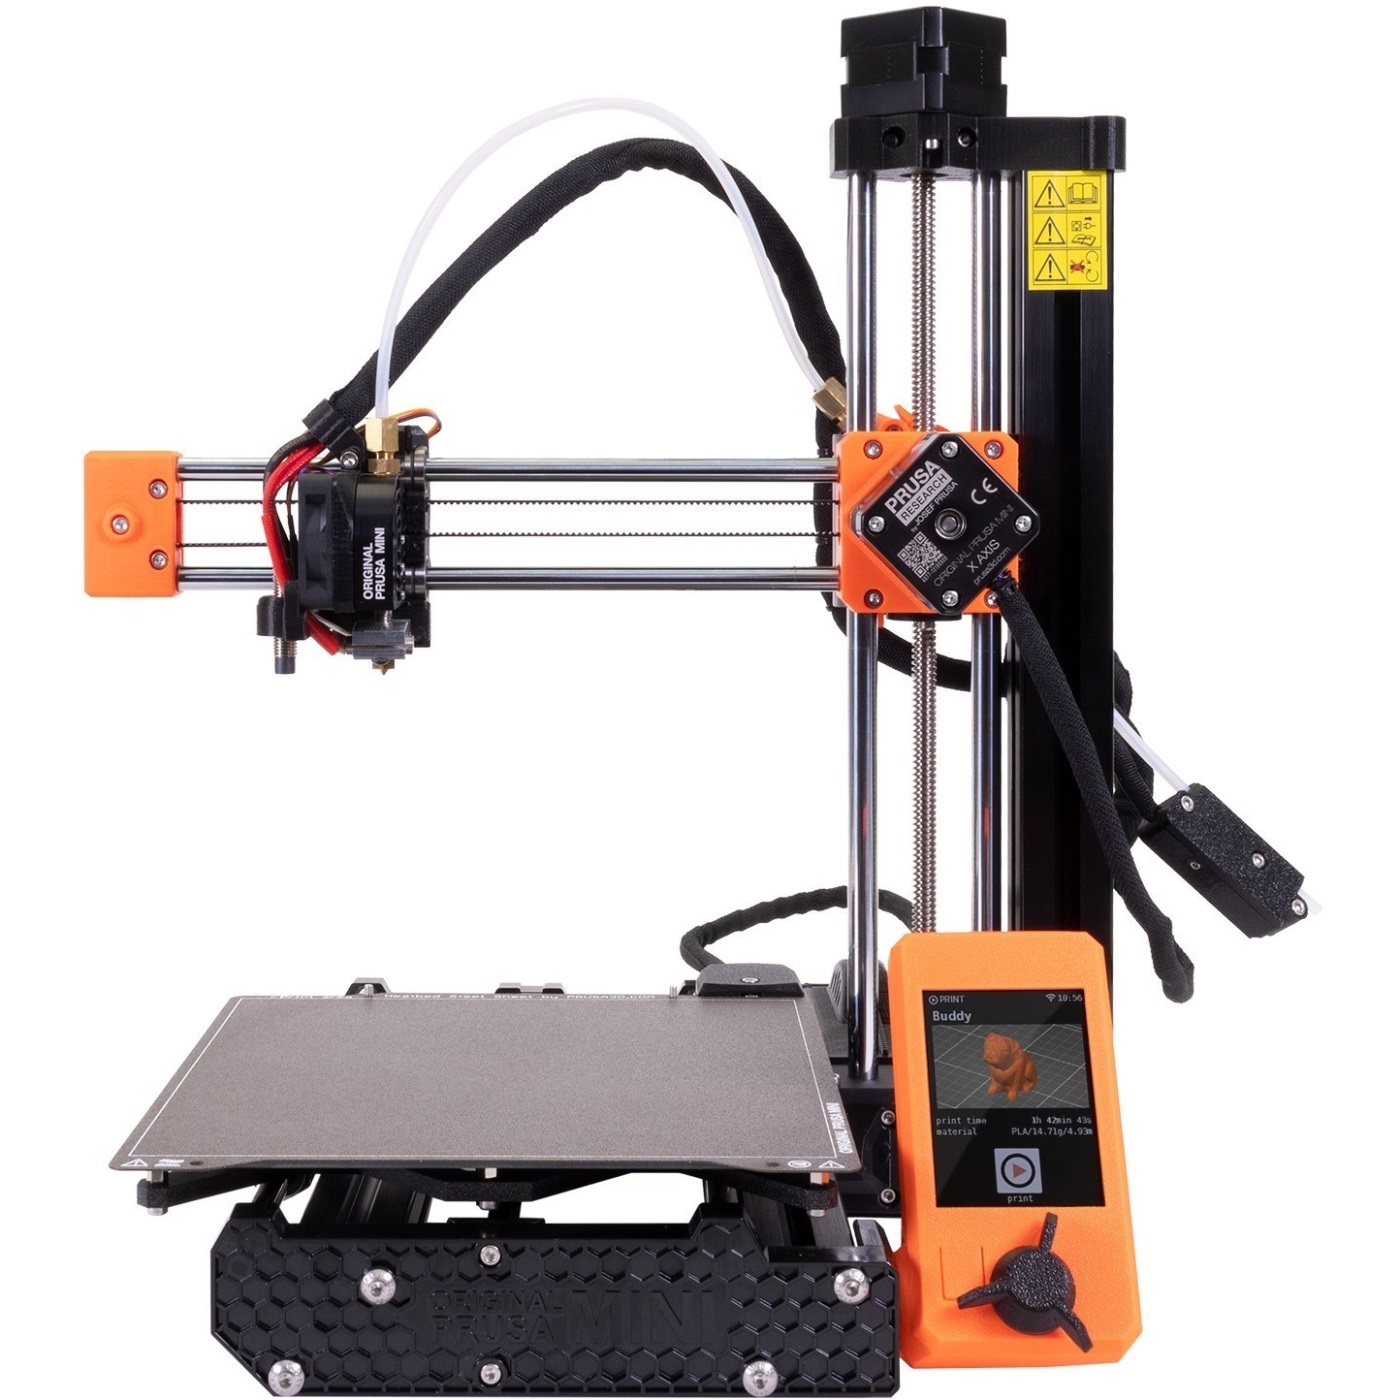
The PRUSA MINI+ has exactly 180×180×180 mm, automatic calibration with the SuperPINDA probe, a nozzle up to 280 °C and a bed up to 100 °C, so it handles PETG, ASA and Flex as well as PLA. It ships semi-assembled; the guide price at publication is about 29,500 UAH. If you know you will print enclosures, cosplay pieces or long parts, look at beds from 250×210 mm; other models are in the 3D printers section.
Kit or assembled printer
A kit costs less than an assembled printer and teaches you the machine better than any manual: afterwards you know where belt tension is set, how the hotend comes off and where each cable runs. You pay in time: set aside a whole evening or weekend, unhurried and in good light.
The PRUSA MK4S KIT comes disassembled: 250×210×220 mm build volume, Nextruder extruder, automatic calibration, nozzle up to 290 °C, bed up to 120 °C, Wi-Fi, USB and NFC, rated power 240 W, 24-month warranty. Guide price is about 50,000 UAH. It suits buyers who want one printer for years with room to upgrade, including the MMU3 multi-colour unit.

Typical self-assembly mistakes: a belt too tight or too slack, a loose carriage screw, a pinched cable. Later these look like a "defect", though the cause is the build. If you dislike screwdrivers or need to print tomorrow, get a semi-assembled or assembled model.
Enclosure or open frame
For PLA and PETG an open frame is enough and easier to maintain: nozzle and bed are reachable from every side. An enclosure keeps the inside heat stable and is needed for ABS, ASA and nylon: without it, large parts in these plastics crack between layers and lift at the corners.
A telling detail from the MK4S specs: the manufacturer lists ABS, ASA, HIPS and PA as supported only with the original Prusa enclosure plus an extra filter. So if you plan engineering plastics, budget for both from the start. In winter an enclosure also blocks draughts from an open window, which can unstick even PLA mid-print.
Why the model comes off the bed and what glue is for
Most beginner prints fail on the first layer. Automatic calibration, which both Prusa models above have, handles nozzle height but not grease: one fingerprint on the steel sheet is enough to lift a corner. Wipe the sheet with isopropyl alcohol before printing and hold it only by the edges.
The 60 ml Bambu Lab Liquid Glue helps in two cases: small parts with little contact area, and PETG. PETG bonds to smooth PEI so hard it can rip out a piece of coating with the part, and a thin glue layer acts as a release agent. Manufacturer-listed compatibility: PLA, ABS, PETG, PET, TPU, ASA; guide price about 870 UAH. Plain PLA on a clean sheet usually needs no glue.
Noise and vibration in a flat
A running FDM printer is noisy from its fans and stepper motors, and fast head moves rock the table. A light side table or chipboard shelf acts as a resonator and spreads the hum through the room, so the printer needs a heavy, rigid base.
The cheapest fix is the SL-239 anti-vibration feet: 4 polyurethane pads for about 200 UAH. They damp vibration going into the furniture and stop the printer creeping across the surface. Better still: pads plus a heavy slab under the printer, such as a paving tile or thick worktop. A night print in a one-room flat will still be audible, so plan long jobs with the printer behind a closed door.
Smell and ventilation: where to put the printer
PLA barely smells, but any molten plastic releases fine particles and volatile compounds. So keep the printer out of a bedroom or nursery where someone sleeps, and air the room after printing. A balcony works only if insulated: in the cold, parts come unstuck and filament absorbs moisture.
ABS and ASA smell sharply of styrene; in a flat, print them only in a filtered enclosure or with an exhaust outside. If you cannot ventilate, stick to PLA and PETG.
PLA or PETG: where to start
For your first spools, get PLA: it prints at 190-220 °C on a 55-60 °C bed, barely shrinks, forgives sloppy settings and comes in dozens of colours and effects (marble, silk, wood, glow-in-the-dark). See the 3D printing filament section; a 1 kg spool costs roughly 950-1,200 UAH.
PETG is the next step when you need stronger, more heat-resistant parts: mounts, enclosures, bathroom and balcony items. It is less brittle, but strings between parts, absorbs moisture from the air and needs higher temperatures.
| Plastic | Nozzle, °C | Bed, °C | Softens at roughly | Best for |
|---|---|---|---|---|
| PLA | 190-220 | 55-60 | 55-60 °C | first prints, decor, prototypes |
| PETG | 230-250 | 70-85 | 70-80 °C | functional parts, outdoors in the shade |
| ABS / ASA | 240-260 | 90-110 | 90-100 °C | car and outdoor use, only with an enclosure and ventilation |
| TPU (Flex) | 210-230 | 40-60 | depends on the brand | cases, feet, seals; slow to print |
Why the PLA part warped in the car
A frequent customer complaint: a PLA phone holder or organiser bent after one day in the car. In summer sun the cabin reaches 60-70 °C and the dashboard more, while PLA softens at about 55-60 °C. For the car print in PETG, and for parts in direct sun use ASA, which also resists UV.
What happens to a print when the power goes off
A large model at 0.2 mm layers easily takes 8-15 hours, so with scheduled outages a print will sooner or later hit one. When power drops, nozzle and bed cool, the head stops over the part, and the cooled part often pops off the bed by itself. Resuming from the same layer then does not always work.
Power loss recovery remembers the position and offers to resume once power returns. It saves the job in a short outage, while the part still holds to the bed. Whether a given model has it and how it works, check on the product page or with a consultant: the listed specs of both Prusa models do not mention it.
It is safer to run the printer from a power station or pure sine wave UPS. To size it, measure average draw during a print with a wattmeter and multiply by hours. At 100 W average, an 8-hour print needs about 800 Wh plus a margin. Peak draw comes as the bed heats, and the MK4S is rated at 240 W, so the station must supply that with headroom. Without backup power, split large models into 2-4-hour pieces and start each right after scheduled power returns.
What to buy straight away besides the printer
- 2-3 PLA spools in different colours: the first goes on test models and calibration.
- Isopropyl alcohol and a lint-free cloth to degrease the bed.
- Bed glue, if you plan PETG or small parts.
- Anti-vibration feet or a heavy base for the printer.
- Flush cutters, a spatula and a spare 0.4 mm nozzle: nozzles wear out and clog.
- An airtight box or silica gel bags for storing PETG and TPU.
- A wattmeter and, if possible, backup power for long prints.
Most of these are in the 3D printing accessories section. Inspect the printer when collecting it at Nova Poshta: it is a heavy box of precise mechanics, and packaging damage should be recorded at once, while the parcel is still at the branch.
When a printer is not worth buying
If you need one or two parts a year, ordering from a print service is cheaper: even the MINI+ costs as much as many such orders. A printer also will not suit anyone expecting "press the button and forget it": calibration, nozzle cleaning and drying filament are a normal part of the hobby. For jewellery-grade miniatures, go straight to resin printers instead of squeezing that detail out of a 0.4 mm nozzle.
If you will print regularly, start with PLA and a printer big enough for the parts you actually make, and move to a bigger bed, an enclosure and engineering plastics when real jobs hit those limits, not because of advertising.


Comments